How to Use JSONEditor in a React App
Discover how to write JSON data to a file in an Express app using Node.js fs.
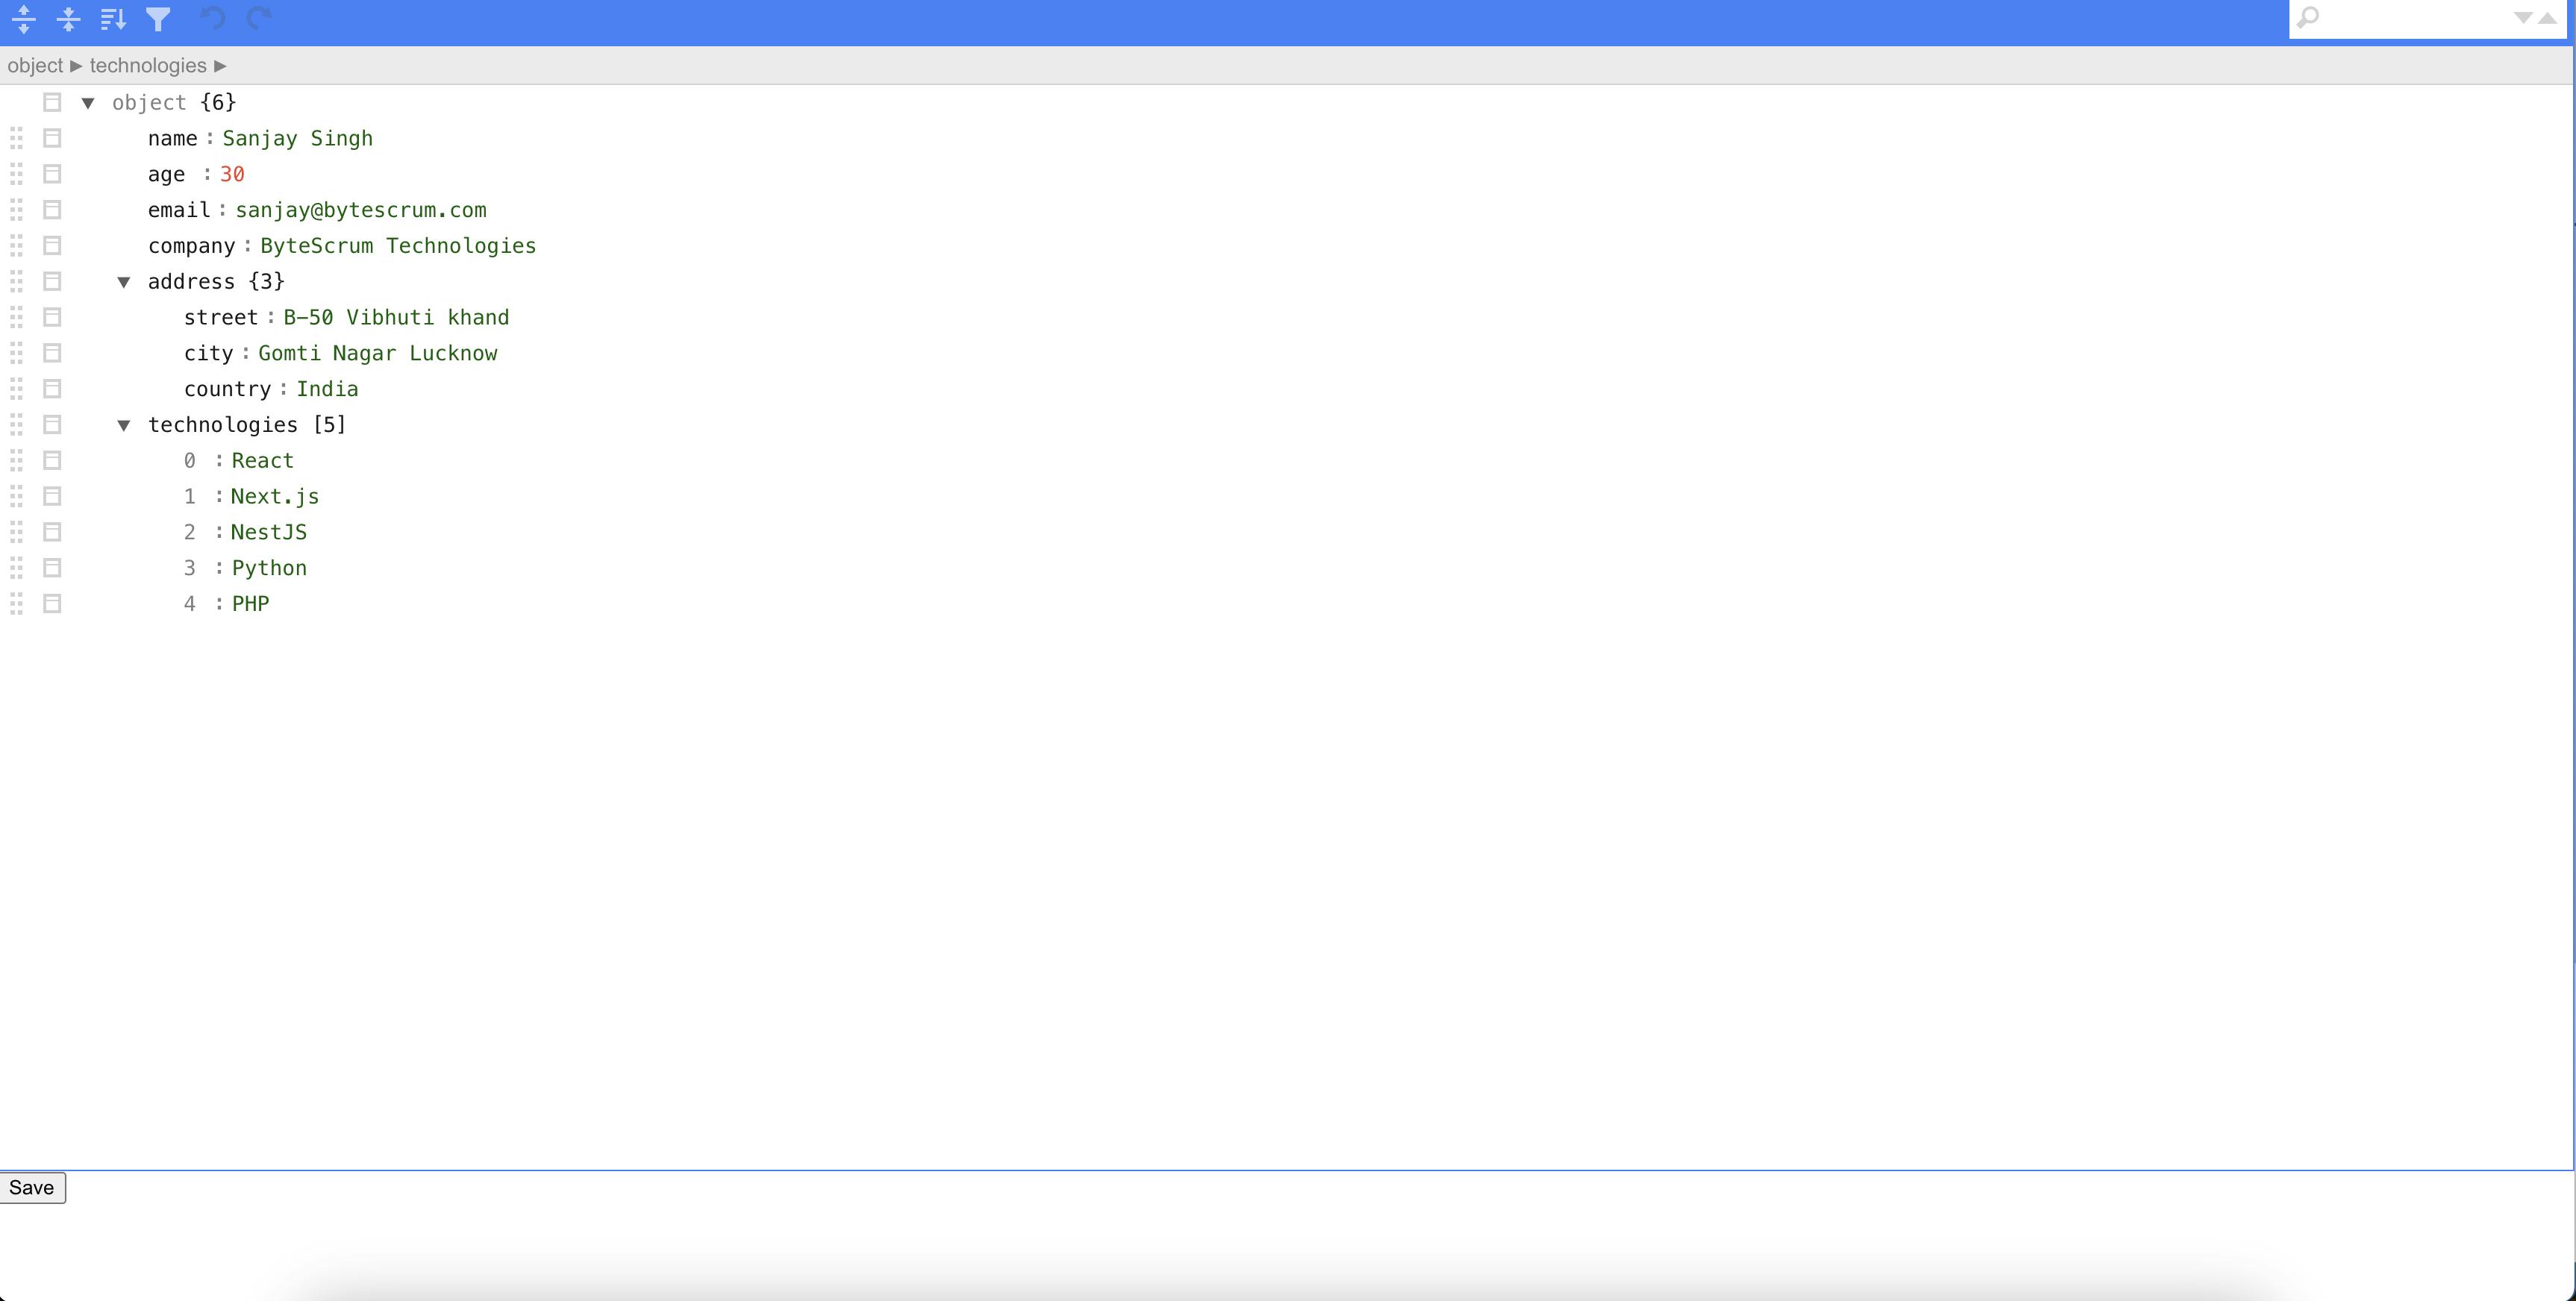
JSONEditor is a powerful tool for editing JSON data in a visual interface. In this tutorial, we'll walk through how to integrate JSONEditor into a React app to import JSON data from a file, edit it using the JSONEditor interface, and save the updated JSON data back to a file.
Getting Started
First, install the JSONEditor library using npm:
npm install jsoneditor
Next, create a new React component to house the JSONEditor and its functionality. Here's a basic example:
import React, { useState, useEffect, useRef } from 'react';
import JSONEditor from 'jsoneditor';

const App = () => {
    const [jsonData, setJsonData] = useState(null);
    const editorRef = useRef(null);

    useEffect(() => {
        if (!editorRef.current) {
            return;
        }

        const fetchData = async () => {
            try {
                // Import the JSON file
                const response = await import('./data.json');
                const initialJsonData = response.default;

                // Create the editor
                const options = {};
                const editor = new JSONEditor(editorRef.current, options);
                editorRef.current.jsonEditor = editor; // Store the editor instance

                // Set the JSON data
                editor.set(initialJsonData);

                setJsonData(initialJsonData);

                // Listen for changes to the JSON data in the editor
                editorRef.current.jsonEditor.options.onChange = () => {
                    const updatedJsonData = editorRef.current.jsonEditor.get();
                    setJsonData(updatedJsonData);
                };

                // Cleanup
                return () => {
                    editor.destroy();
                };
            } catch (error) {
                console.error('Error loading JSON file:', error);
            }
        };

        fetchData();
    }, []);

    const handleSave = async () => {
        if (!jsonData) {
            console.error('No JSON data to save');
            return;
        }

        try {
            await fetch('http://localhost:3000/file/write', {
                method: 'POST',
                headers: {
                    'Content-Type': 'application/json'
                },
                body: JSON.stringify(jsonData)
            });
            console.log('JSON data saved successfully');
        } catch (error) {
            console.error('Error saving JSON data:', error);
        }
    };

    return (
        <div>
            {/* when using the mode "code", it's important to specify charset utf-8 */}
            <meta charSet="utf-8" />

            <link href="https://cdnjs.cloudflare.com/ajax/libs/jsoneditor/10.0.2/jsoneditor.min.css" rel="stylesheet" type="text/css" />
            <div ref={editorRef} style={{ width: '100%', height: '100vh' }}></div>

            <button onClick={handleSave}>Save</button>

            <script src="https://cdnjs.cloudflare.com/ajax/libs/jsoneditor/10.0.2/jsoneditor.min.js"></script>
        </div>
    );
};

export default App;

Writing JSON Data to a File using Express
We'll explore how to create a simple Express.js server that accepts JSON data in a POST request and writes it to a file using the Node.js fs module.
Setting Up the Express Server
First, let's set up a basic Express server with a route that handles POST requests to write JSON data to a file. Start by creating a new Express project and installing the necessary dependencies:
npm init -y
npm install express fs
Next, create a new file called app.js and add the following code:
// app.js

const express = require('express');
const fs = require('fs');
const app = express();
const port = 3000;

app.use(express.json());

app.post('/file/write', (req, res) => {
    const data = req.body;
    try {
        fs.writeFileSync(
            '/path/to/your/file.json', // Specify the path to your JSON file
            JSON.stringify(data, null, 2),
        );
        res.send({ message: 'File written successfully' });
    } catch (error) {
        res.status(500).send({ message: 'Error writing file', error });
    }
});

app.listen(port, () => {
    console.log(`Server running at http://localhost:${port}`);
});
Replace /path/to/your/file.json with the actual path to your JSON file. This route handler accepts JSON data in a POST request and uses fs.writeFileSync to write the data to the specified file. If an error occurs during the write operation, it sends a 500 status code along with an error message.
Testing the Endpoint
To test the endpoint, you can use a tool like Postman or curl to send a POST request to http://localhost:3000/file/write with JSON data in the request body. For example:
curl -X POST http://localhost:3000/file/write -H "Content-Type: application/json" -d "{\"name\": \"John\", \"age\": 30}"
This will write the JSON data {"name": "John", "age": 30} to the specified file.
Summary
data.json), displays it in the editor, allows the user to edit the JSON data, and provides a "Save" button to save the updated JSON data back to the file.
