Real-time Applications with Next.js and WebSockets
Leveraging WebSockets for Instant, Bidirectional Communication in Next.js Apps
Our company comprises seasoned professionals, each an expert in their field. Customer satisfaction is our top priority, exceeding clients' needs. We ensure competitive pricing and quality in web and mobile development without compromise.
In today's fast-paced digital world, real-time data communication is crucial for building dynamic and interactive web applications. WebSockets provide a powerful mechanism to achieve real-time, bidirectional communication between clients and servers. In this blog post, we will explore how to leverage WebSockets with Next.js to build real-time applications.
Introduction to WebSockets
WebSockets offer a full-duplex communication channel over a single, long-lived connection, allowing for instant data exchange between clients and servers. Unlike HTTP, WebSockets maintain an open connection, enabling real-time updates without the need for continuous polling.
Benefits of Using WebSockets:
Low Latency: Instant data transmission without the overhead of establishing multiple HTTP connections.
Efficient: Reduced bandwidth usage by maintaining a single connection.
Real-Time Communication: Ideal for applications requiring live updates, such as chat applications, real-time dashboards, and collaborative tools.
Setting Up a Next.js Project
To get started, we'll create a new Next.js project. Ensure you have Node.js installed, then follow these steps:
Initialize the Project:
 npx create-next-app@latest real-time-app
 cd real-time-app
Install Dependencies:
We'll need
ws, a WebSocket library for Node.js.npm install ws
Creating a WebSocket Server
Next.js allows us to set up custom servers. We'll create a WebSocket server within our Next.js application.
Create a Custom Server:
In the root of your project, create a file named
server.js:const { createServer } = require('http'); const { parse } = require('url'); const next = require('next'); const WebSocket = require('ws'); const dev = process.env.NODE_ENV !== 'production'; const app = next({ dev }); const handle = app.getRequestHandler(); app.prepare().then(() => { const server = createServer((req, res) => { const parsedUrl = parse(req.url, true); handle(req, res, parsedUrl); }); const wss = new WebSocket.Server({ server }); wss.on('connection', (ws) => { console.log('New client connected'); ws.on('message', (message) => { console.log(`Received message: ${message}`); ws.send(`Server: ${message}`); }); ws.on('close', () => { console.log('Client disconnected'); }); }); server.listen(3000, (err) => { if (err) throw err; console.log('> Ready on http://localhost:3000'); }); });Update
package.json:Modify the
scriptssection to use the custom server:"scripts": { "dev": "node server.js", "build": "next build", "start": "NODE_ENV=production node server.js" }
Integrating WebSocket Client in Next.js
Now, let's set up the WebSocket client in our Next.js application.
Create a WebSocket Hook:
In the
hooksdirectory, create a file nameduseWebSocket.js:import { useEffect, useState } from 'react'; const useWebSocket = (url) => { const [messages, setMessages] = useState([]); const [ws, setWs] = useState(null); useEffect(() => { const socket = new WebSocket(url); setWs(socket); socket.onmessage = (event) => { setMessages((prevMessages) => [...prevMessages, event.data]); }; return () => { socket.close(); }; }, [url]); const sendMessage = (message) => { if (ws) { ws.send(message); } }; return { messages, sendMessage }; }; export default useWebSocket;Use the WebSocket Hook in a Component:
Create a
pages/index.jsfile to use the WebSocket hook:import { useState } from 'react'; import useWebSocket from '../hooks/useWebSocket'; const Home = () => { const { messages, sendMessage } = useWebSocket('ws://localhost:3000'); const [input, setInput] = useState(''); const handleSubmit = (e) => { e.preventDefault(); sendMessage(input); setInput(''); }; return ( <div> <h1>Real-time Chat</h1> <form onSubmit={handleSubmit}> <input type="text" value={input} onChange={(e) => setInput(e.target.value)} /> <button type="submit">Send</button> </form> <div> {messages.map((msg, index) => ( <div key={index}>{msg}</div> ))} </div> </div> ); }; export default Home;
Running the Application
Start your Next.js application:
npm run dev
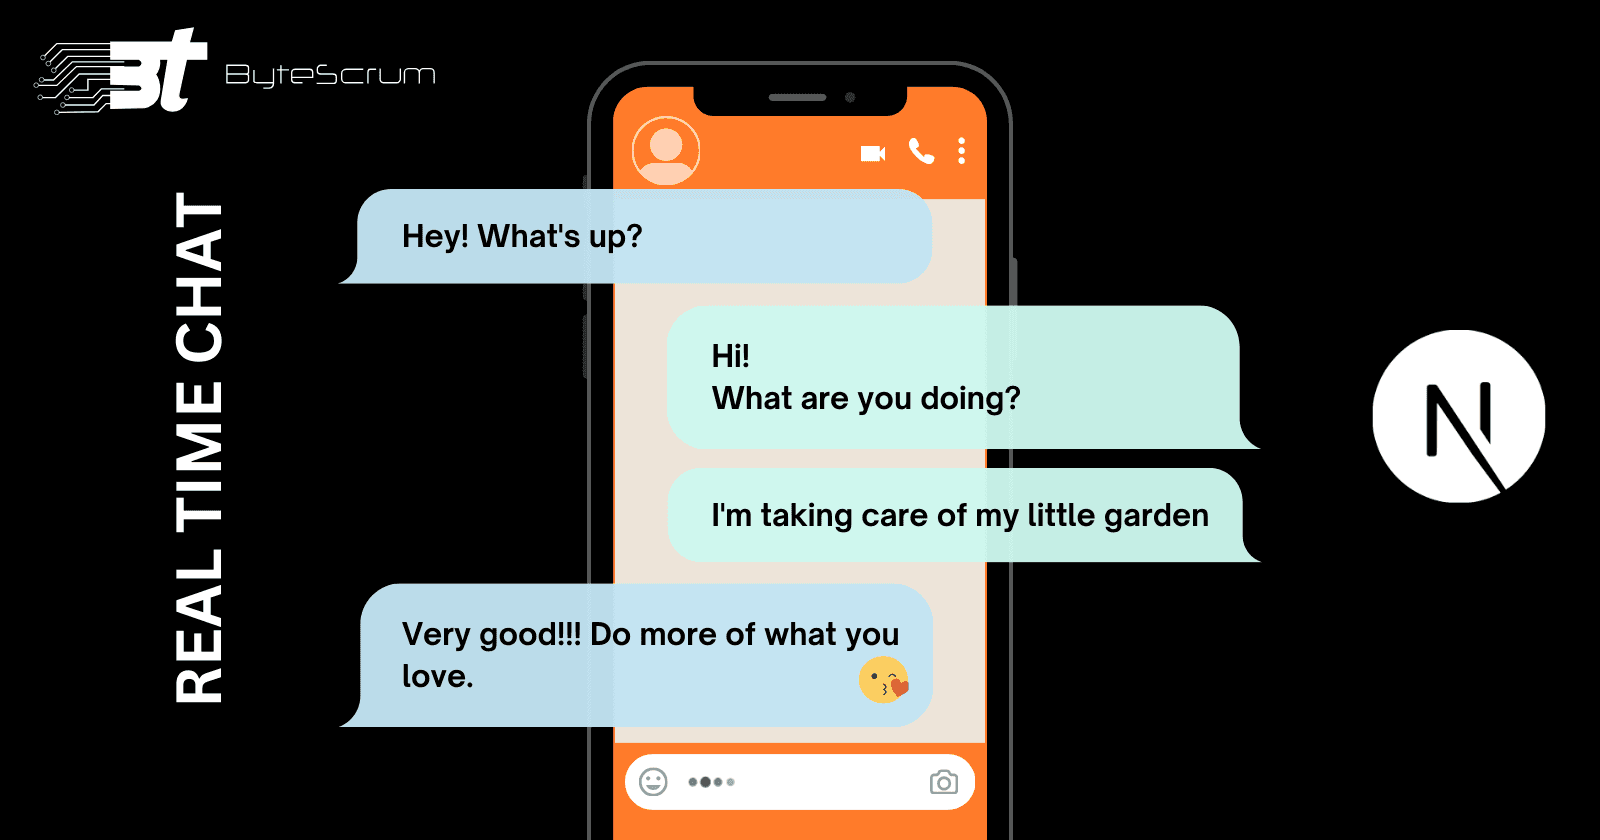
Open your browser and navigate to http://localhost:3000. You should see a simple chat interface where you can send messages and receive real-time updates.
Conclusion
Remember, while this example demonstrates a basic implementation, you can extend and customize it to suit your specific use case. Happy coding!